So, what I essentially chose to do my research on for this assignment is testing a new rendering software that I recently dabbled around with, Keyshot. Keyshot is well known for it's ray tracing capabilities and showing off non-real time models. So for this I chose to use my high poly prowler that I recently made for the beggining of this sem for my 3D class. I was always intrigued by the use of this prior to my attendance at FIEA.
So once I started this software and imported in my model I began to apply different materials and search for some online to closely resemble the type of tone/ model quaility that I wanted.
This was the example that I followed through on in terms of presentation.
After importing my model I've noticed that keyshot sometimes automatically centers the ground plane at midpoint of the model. To fix this, I went to add geometry inside the program to replace the ground plane and to change the bizarre shadow that was center pivot of the character.
This is where keyshot gets really awesome. This program has amazing lighting customization. I used the product rendering selection which can be found under the lighting tab on the right. I used a two point point lighting set up, one for the fill light, and a rim light with a slight hue to accent the color of the material. I also used a studio background/light environment to get all my color information from the main light source.
I then applied a gradient texture to my bump map to mimic the skin noise that I generated in zbrush. After achieving getting the poses I wanted, I then started to tweak the composition after hitting the render tab at the bottom of this program. I then switched over from the basic lighting tab to photographic, this enables me to use a curve system to adjust the lighting input and intensity, to give it a little more depth, very similiar to the one in Photoshop. I wanted to give this more of a cinematic feel to my presentations and utilizing these post processing tools really helped me achieve these goals.
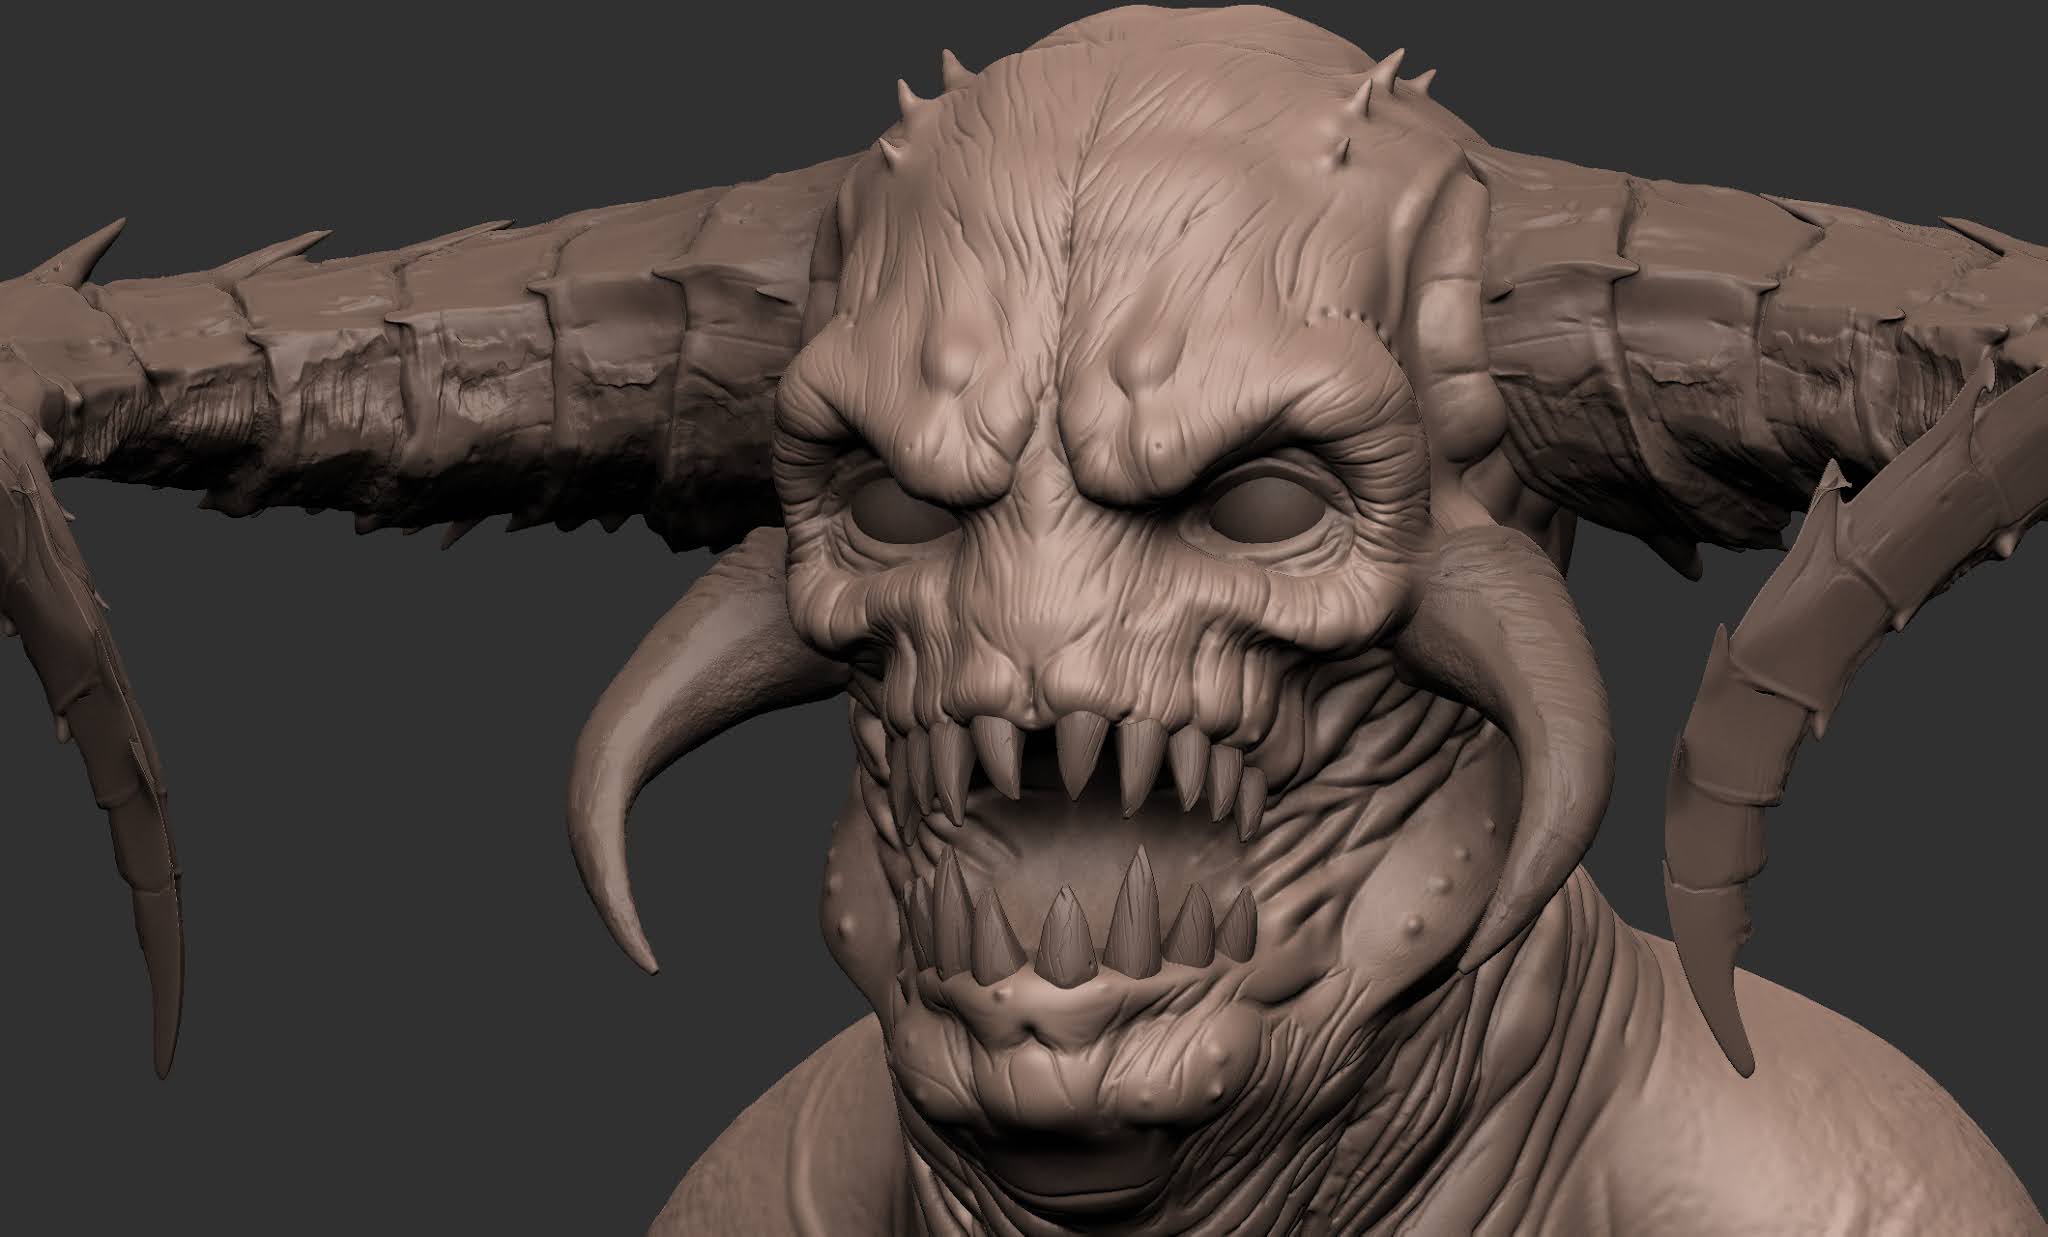
Heres some of the results I've gotten following some of the techniques above.

Overall, I'm super stoked how these came out. Keyshot is my new addiction. This is a great tool for product renders and concept models.